Deciding between residential painting tips diy or hire a pro depends on your budget, timeframe, and desired level of finish. While DIY projects save on labor costs, they require extensive preparation and high quality materials to achieve professional results; conversely, hiring a professional ensures expert execution for complex surfaces like ceilings and trim. Evaluating the complexity of the project and estimating interior painting costs will help you determine the most efficient approach.
Staring at a faded living room or a scuffed hallway often sparks the same internal debate; can I handle this myself or is it time to call in the experts? While the appeal of a DIY transformation is strong, the reality frequently involves unexpected hardware store runs, uneven finishes, and exhausted weekends. Your home represents a significant investment. Consequently, the quality of your interior or exterior finish dictates both immediate curb appeal and long term property value. In this guide, we examine the specific scenarios where a homeowner can find success with a brush, and we identify the high stakes projects like vaulted ceilings or complex cabinetry that require a professional touch. We will also breakdown the hidden expenses of DIY ventures and provide transparent cost expectations for the Georgia market, ensuring you have the clarity needed to achieve a sophisticated, lasting result.
The Painting Decision: When to Pick Up a Brush and When to Call a Pro
Deciding to refresh your home often starts with a trip to the local hardware store, but the gap between a weekend project and a high-quality finish is wider than many expect. The core trade-off centers on your personal time and physical labor versus a guaranteed professional result. While handling the work yourself eliminates labor fees, hiring professional residential painting services ensures a level of longevity and precision that prevents premature peeling or visible brush marks.
When reviewing residential painting tips diy or hire a pro, consider the complexity of the environment. Simple rooms with standard ceilings are manageable for many homeowners. However, projects involving vaulted ceilings, intricate trim work, or exterior surfaces require specialized equipment and safety protocols. A professional crew brings industrial-grade tools and years of experience to manage Georgia’s specific climate challenges, such as high humidity affecting dry times. For those planning to start themselves, reading a DNA Pro interior painting guide can help clarify the prep work required for a lasting bond.
Factor | DIY Approach | Professional Service |
|---|---|---|
Upfront Cost | Lower (materials only) | Higher (labor and materials) |
Time Commitment | High (multiple weekends) | Low (typically 2 to 4 days) |
Equipment | Basic brushes and rollers | Scaffolding, sprayers, industrial prep tools |
Outcome | Variable finish | Guaranteed clean lines and uniform coverage |
If you are unsure where your specific project falls on this scale, you can contact our local painting team for a professional assessment of your property.
The DIY Sweet Spot: Projects Beginners Can Handle
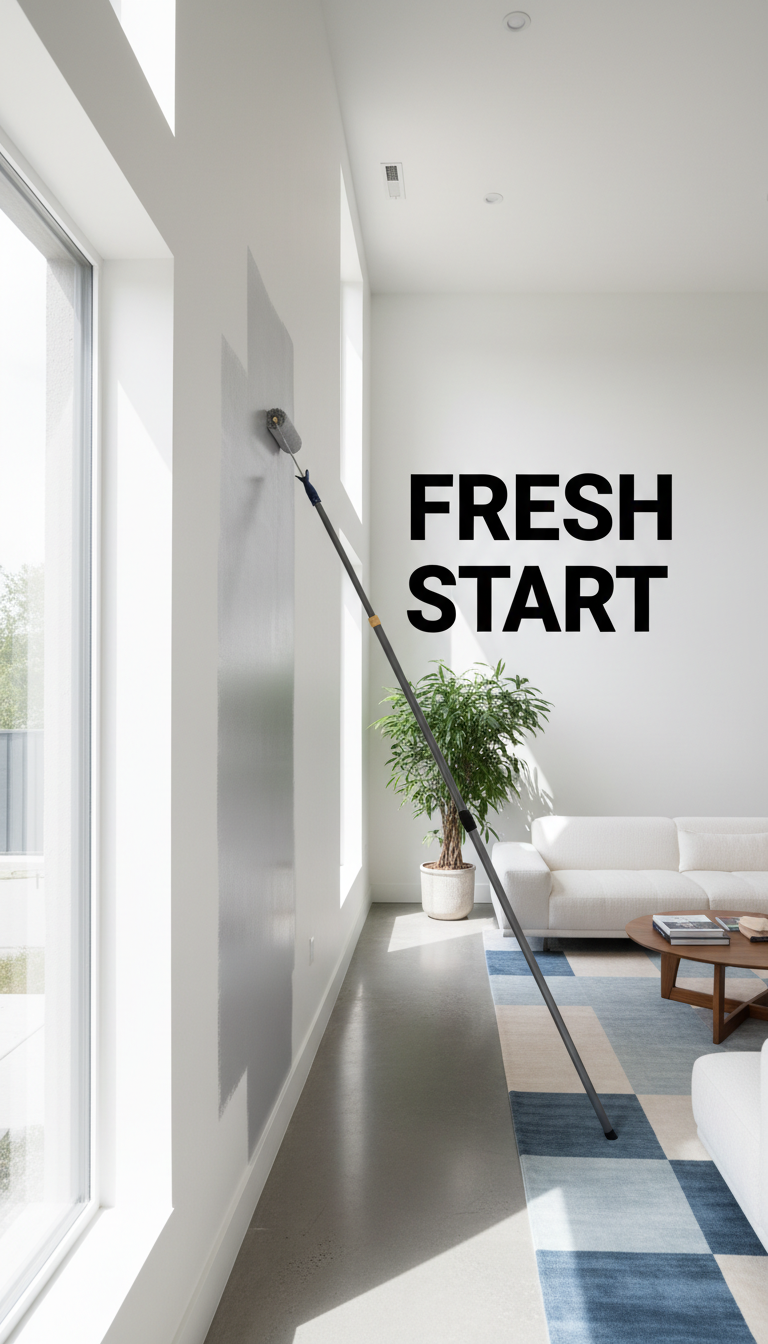
Lowering the stakes is the best way to gain confidence with a brush. Small, enclosed spaces such as guest bathrooms, laundry rooms, or a single accent wall serve as the ideal training ground. These areas allow you to practice your technique without the pressure of a high-visibility living room or a complex exterior. Before the first drop of paint hits the surface, successful DIY results depend on a clean, dull, and dry substrate. Wiping down walls with a solution of mild soap and water is a critical first step, as detailed in the DNA Pro interior painting guide. This process removes hidden oils, fingerprints, and dust that can prevent the paint from bonding properly.
To achieve a clean finish, invest in a specific beginner toolkit. Avoid the bargain bins and opt for high-quality synthetic angled brushes, which provide better control when painting near trim. For standard interior walls, a roller with a 3/8-inch nap is the industry standard. This thickness holds enough paint to provide even coverage while leaving a smooth texture, preventing the heavy stipple often seen with thicker rollers.
Tool | Specification | Purpose |
|---|---|---|
Angled Sash Brush | 2.5-inch Synthetic | Precise cutting in and trim work |
Paint Roller | 3/8-inch Nap | Uniform interior wall coverage |
Painter's Tape | Multi-surface | Protecting ceilings and baseboards |
Cleaning Agent | Mild dish soap and water | Removing surface oils and contaminants |
One of the most intimidating tasks for beginners is cutting in, or painting the edges where the wall meets the ceiling or trim. Using the "tape roll and bump" method can simplify this. Apply the painter’s tape by rolling it out in short sections and bumping it against the edge to ensure it sits perfectly in the corner. Press the edge of the tape firmly with a putty knife to prevent paint from seeping underneath.
When reviewing residential painting tips diy or hire a pro, these smaller projects offer the most rewarding entry point. You can learn the rhythm of loading a brush and maintaining a wet edge without the physical exhaustion of a whole-house project. By mastering these low-risk areas first, you gain a better understanding of the patience required for professional-grade work.
When a Professional is Necessary: High Foyers, Kitchens, and Exteriors
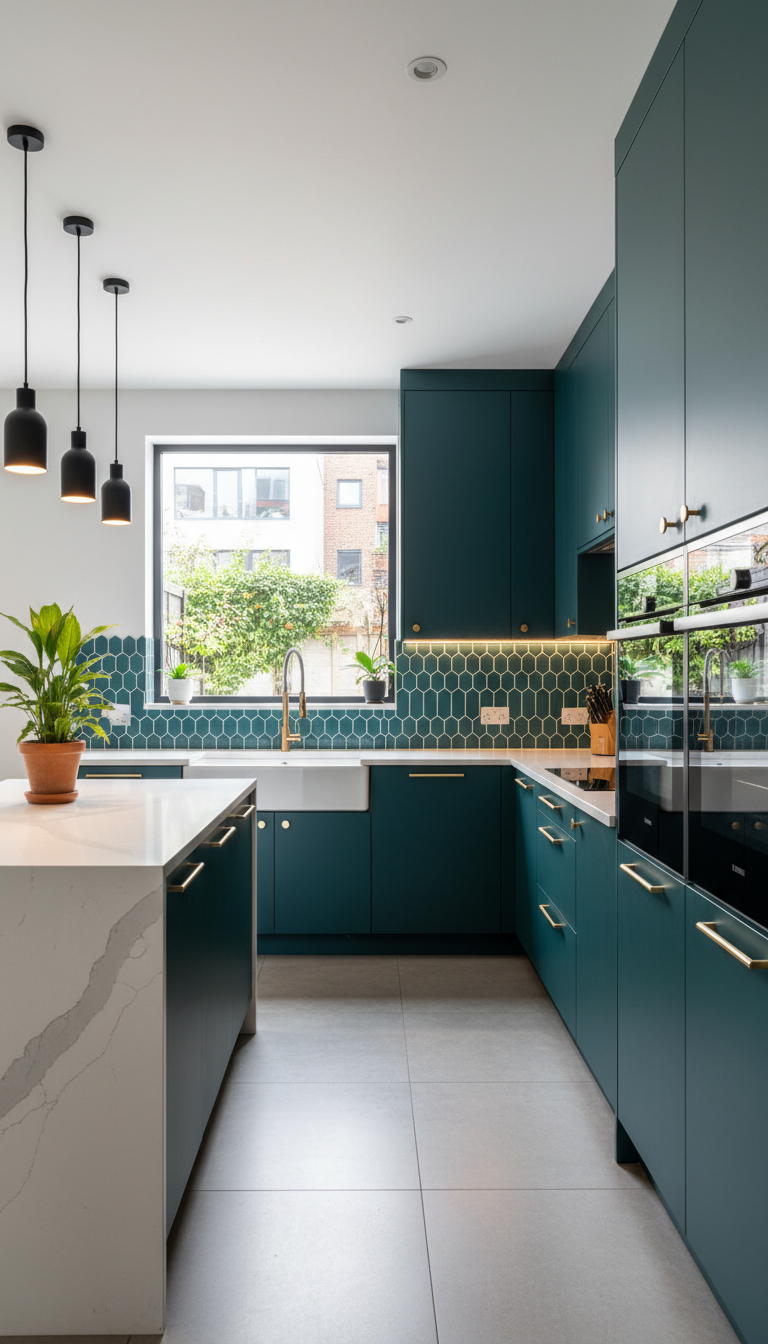
While small rooms allow for experimentation, certain high-stakes areas of the home demand professional residential painting services to ensure safety and quality. Georgia-style architecture often includes grand features like two-story foyers and vaulted great rooms. Painting these spaces involves much more than a steady hand; it requires specialized equipment such as heavy-duty extension ladders and interior scaffolding. Navigating these heights while managing a paint bucket and roller is a significant safety risk for those without professional training.
Kitchen cabinet transformations represent one of the most technical challenges in the industry. To achieve a factory-grade, flawless finish, the process requires deep degreasing, mechanical sanding, and the use of industrial sprayers. Unlike a standard wall, cabinets are high-touch surfaces that require specific bonding primers and hardened topcoats. When evaluating residential painting tips diy or hire a pro, remember that a DIY brush-and-roller approach on cabinets often results in visible textures and premature chipping.
Exterior projects also fall into the professional category due to the complexity of the substrate and the local climate. Painting fiber cement or wood siding requires precise timing to account for Georgia’s high humidity and sudden rain. Professionals utilize commercial-grade power washers for prep and airless sprayers for uniform application, ensuring the coating bonds deeply to the surface. For projects involving these complex environments, you can contact our local painting team to discuss a plan that prioritizes safety and a durable outcome.
The Real Cost of DIY: Hidden Expenses Beyond the Paint Can
The initial attraction of a DIY project is often the perceived savings on labor. However, homeowners frequently underestimate the cumulative cost of the specialized tools required for a professional grade finish. Beyond the price per gallon, a complete inventory includes heavy duty canvas drop cloths, sturdy extension poles for consistent leverage, various grits of sandpaper, high quality caulk for gaps, and specific primers to ensure adhesion. When these individual expenses are tallied, the financial gap between doing it yourself and hiring professional residential painting services narrows significantly.
Physical costs are only one part of the equation; the "time cost" is often the most significant hidden expense. A professional three-man crew can typically prep and paint a 2,000 square foot home in three to four business days. In contrast, a solo DIYer often loses four consecutive weekends to the same task, sacrificing personal time and living in a state of construction for nearly a month. This extended timeline increases the risk of the "mistake tax," where fatigue leads to drips, uneven coverage, or poor transitions that require additional paint and corrective tools to fix.
Item | DIY Expense Factor | Professional Advantage |
|---|---|---|
Materials | Retail pricing on brushes, tape, and tarps | Pro-grade gear already owned by the crew |
Timeline | 80+ hours over several weeks | 24-40 man-hours over 3-4 days |
Risk | Cost of rework for drips or "holidays" | Mastery of technique minimizes waste |
When reviewing residential painting tips diy or hire a pro, consider that a single significant error, such as failing to prime a porous patch of drywall, can double your material costs and labor time. These errors are common when the focus is on speed rather than the meticulous prep work outlined in the DNA Pro interior painting guide. If the complexity of prep work seems daunting, you can contact our local painting team to receive a detailed breakdown of how professional efficiency translates into long term value for your Georgia home.
Average Interior Painting Costs in Georgia: What to Expect
Understanding the local market pricing helps bridge the gap when researching residential painting tips diy or hire a pro. In Georgia, professional interior painting typically ranges from $2 to $6 per square foot of wall space. This pricing includes labor, high quality materials, and the expert preparation steps outlined in the DNA Pro interior painting guide. For a standard 2,000 square foot home in the Georgia market, homeowners should expect a realistic investment range of $5,000 to $8,000 for the walls alone.
Several specific factors influence where a project falls within this range. While a simple color refresh on well-maintained surfaces keeps costs lower, certain architectural and aesthetic choices increase the labor requirements significantly. Dark color changes are a primary driver of cost, as transitioning from a deep navy or charcoal to a lighter neutral often requires additional coats of high hide primer and multiple finish layers to achieve full opacity.
Cost Driver | Influence on Project Total |
|---|---|
Surface Preparation | Extensive drywall repair or texture matching adds labor hours and material costs. |
Detail Work | Including baseboards, window casings, and doors increases the precision time required. |
Ceiling Height | Rooms with vaulted or two story ceilings require scaffolding and specialized safety equipment. |
Paint Quality | Premium low VOC or scuff resistant finishes carry a higher material price point. |
When requesting quotes for professional residential painting services, transparency regarding the current condition of your walls ensures a more accurate estimate. Minor cracks and nail pops are standard, but significant water damage or peeling requires deeper remediation. To get a precise figure tailored to your specific layout and color goals, contact our local painting team for a professional on site assessment.
How to Achieve a Professional Look If You Go the DIY Route
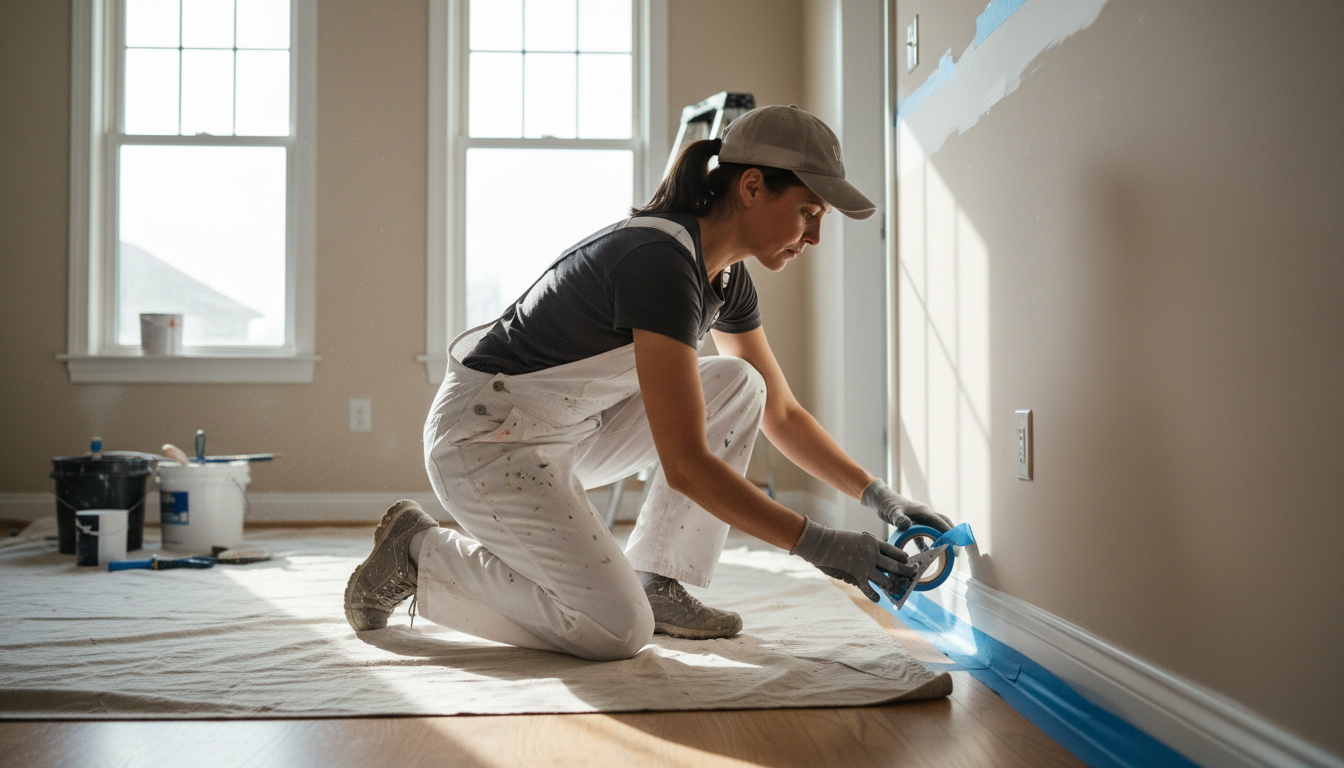
If you choose to tackle the project yourself, mimicking the workflow of a professional crew is the only way to avoid a DIY look. Pros follow a strict coating sequence: one coat of high quality primer followed by two thin coats of finish paint. This standard ensures the substrate is sealed and the color develops full depth and durability. Skipping the second finish coat often leaves "holidays," which are small gaps in coverage that become obvious under bright lighting. When reviewing residential painting tips diy or hire a pro, remember that these extra steps are what create a finish that lasts for years rather than months.
Georgia’s climate introduces a unique variable: extreme humidity. Moisture in the air slows evaporation; this can lead to sagging paint or a tacky finish that never fully cures. Aim to work on days when relative humidity is low. If the weather is uncooperative, running a dehumidifier in the room for 24 hours before and during the application helps maintain the ideal drying environment. Proper preparation, as noted in the DNA Pro interior painting guide, remains the foundation of a successful project.
Tool selection directly impacts the final texture. While bargain rollers save a few dollars, they often shed fibers or create a heavy, stippled orange peel effect. Premium microfiber or woven rollers provide a much smoother laydown. Before applying the final coat, perform a critical visual inspection. Use a handheld work light held at an angle against the wall to reveal drips or dust nibs. Sanding these small imperfections away before the final pass distinguishes a standard job from professional residential painting services. If the level of detail required for a smooth finish feels overwhelming, you can contact our local painting team to handle the labor for you.