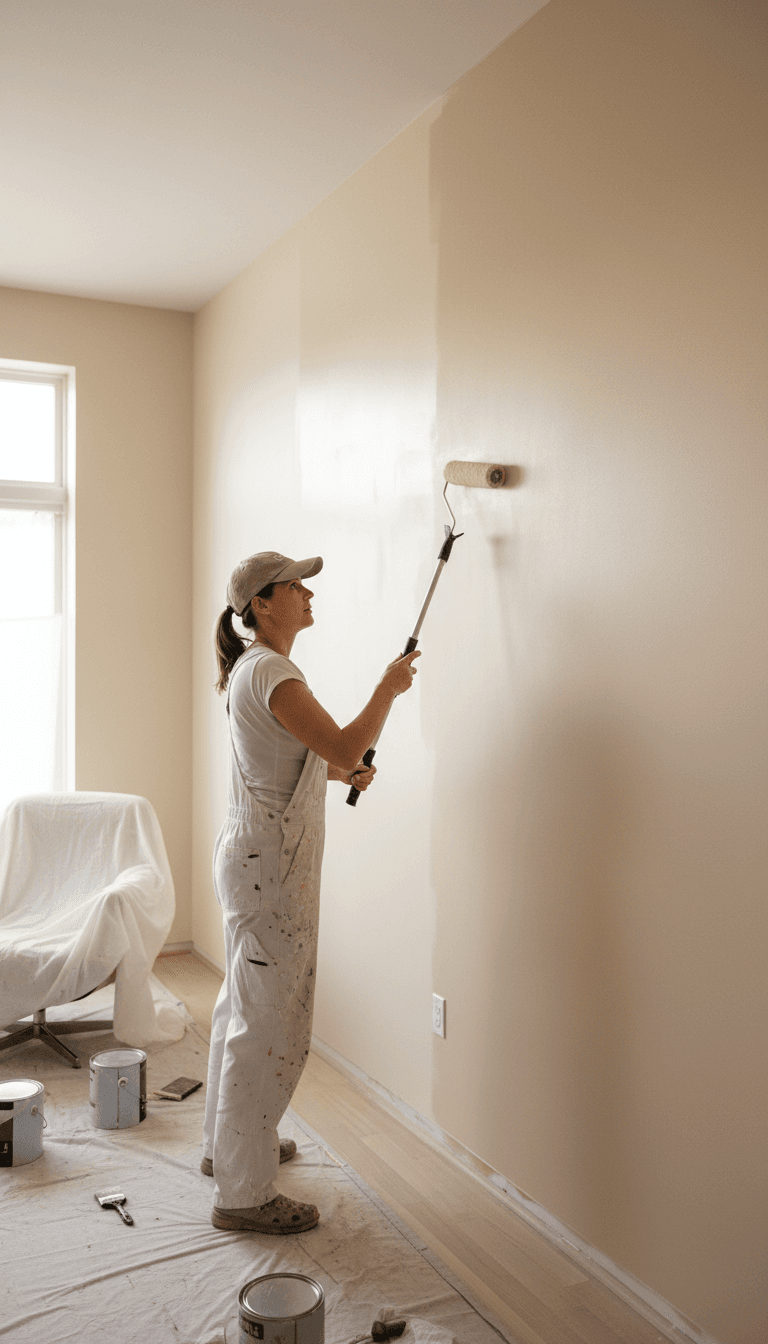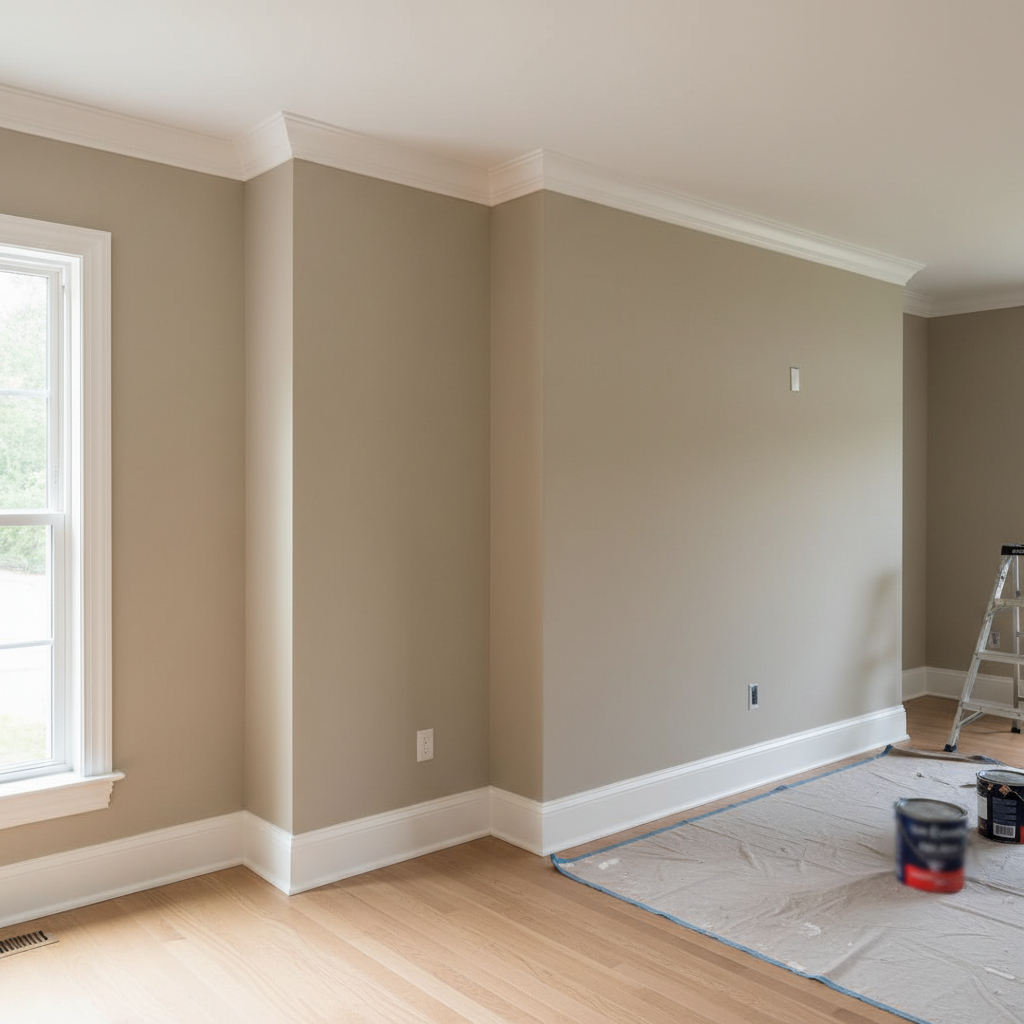
Effective paint prep before painting walls requires cleaning surfaces with mild soap and water, repairing any holes or cracks, and sanding rough spots to ensure proper adhesion. Professionals also recommend removing hardware, protecting furniture with drop cloths, and applying painter's tape to achieve crisp lines. These critical steps prevent future peeling and guarantee a smooth, long lasting finish on every surface.
Most homeowners approach a new project with excitement, only to face immediate disappointment when they notice bubbles, peeling, or visible imperfections just weeks after completion. These frustrating issues are rarely a failure of the paint itself; they are almost always the result of inadequate surface preparation. At DNA Pro Painting, LLC, we believe that a truly professional finish is earned during the hours spent before the first drop of color is ever applied. Neglecting this foundation compromises both the aesthetic and the longevity of your investment. In this comprehensive guide, we share our expert methodology for achieving a flawless result. We will cover everything from essential cleaning and repair techniques to the specific impact of Georgia humidity on your project. You will gain the practical knowledge required to transform your walls with the precision and durability that define our work.
Why Proper Paint Prep Before Painting Walls is Non-Negotiable
Most homeowners focus on the final color, but a high-end finish is earned long before the first gallon is opened. In the world of professional residential painting services, approximately 80% of the labor occurs during the preparation phase. This is not just a best practice; it is a technical necessity.
One of the most frequent questions we encounter is why paint peels or bubbles shortly after application. The answer lies in the science of adhesion. Paint is not merely a film that sits on top of a surface; it must form a mechanical or chemical bond with the substrate. When microscopic dust, kitchen grease, or layers of failing old paint remain on the surface, they act as a physical barrier. This prevents the new coating from biting into the wall, leading to eventual failure.
While "splash and dash" contractors often skip these steps to provide a lower quote, DNA Pro Painting, LLC maintains meticulous preparation standards to ensure every project lasts for years. We understand that cutting corners on paint prep before painting walls creates a fragile finish that will eventually crack or flake. True craftsmanship begins with the grit of sanding and the precision of cleaning, ensuring the bond between your wall and the new pigment is unbreakable.
Phase 1: Protecting Your Space and Furniture
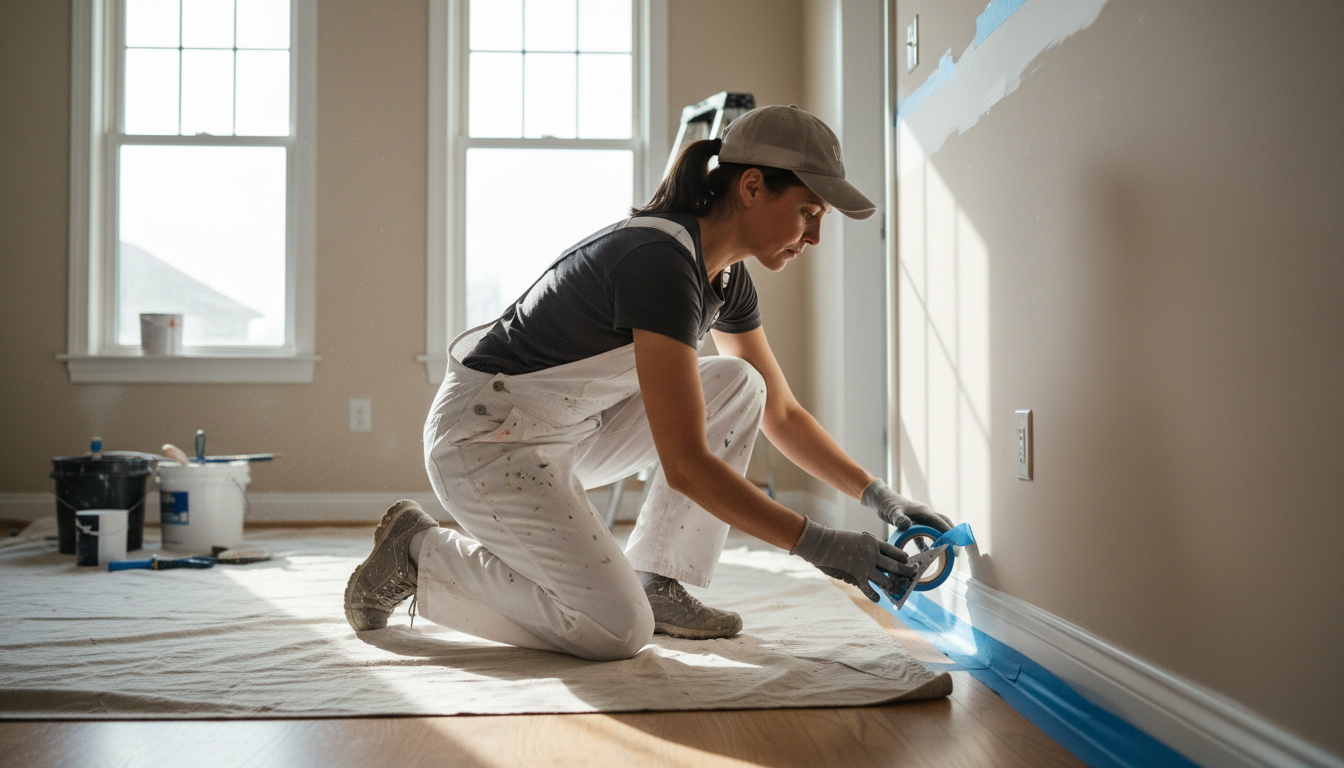
Before the technical work begins, the physical environment must be secured. A common mistake in paint prep before painting walls is working around obstacles instead of removing them. DNA Pro Painting, LLC begins by clearing the room of all small items and wall decor. We recommend removing all window treatments, including curtains and rods, along with hardware like switch plates and outlet covers. Placing these items and their respective screws in labeled bags ensures an efficient reassembly phase once we achieve the clean finishes and quality workmanship our clients expect.
Larger furniture should be moved to the center of the room, leaving at least a three foot perimeter around the walls. This staging area allows for a full range of motion and prevents accidental splashes on upholstery. Once grouped, furniture should be covered with lightweight plastic sheeting to repel dust during the sanding phase.
For the flooring, professional painters prioritize heavy duty canvas drop cloths over the thin plastic rolls found in hardware stores. Plastic is dangerously slippery, especially on hardwoods or tile, and it tears easily under the weight of a ladder. Canvas absorbs small drips and provides a stable, non slip surface for the duration of the project. This physical barrier protects your investment while providing a clear workspace for the repair and cleaning phases to follow.
How to Clean Walls Before Painting for Maximum Adhesion
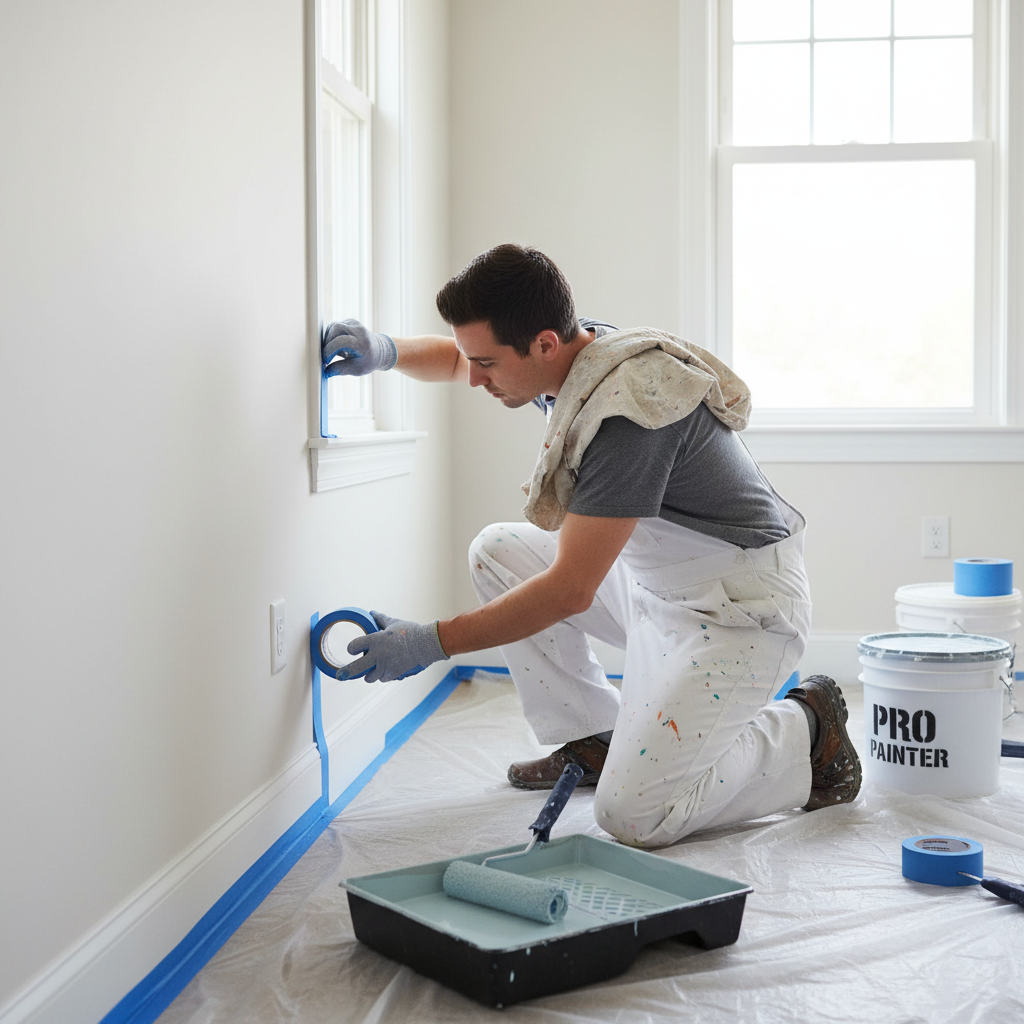
Once the work zone is secure, the focus shifts to the substrate itself. A frequent question from clients is whether professional painters actually wash walls before beginning. The answer is a definitive yes. Even in a home that appears spotless, walls accumulate a microscopic film of dust, skin oils, and airborne particles that act as a bond breaker. Without this step, the new coating cannot "bite" into the surface, leading to premature peeling or a finish that feels gritty to the touch.
The fastest way to clean walls involves a two tiered approach based on the room's function. For bedrooms or low traffic hallways, a thorough dusting with a microfiber cloth or a vacuum with a soft brush attachment is often sufficient to remove cobwebs and loose debris. However, high traffic areas near light switches and door frames require more intensive treatment to remove accumulated oils from hands. These oils are notorious for causing adhesion failure if they are not neutralized before the first coat is applied.
In kitchens and dining areas, where aerosolized cooking grease settles on surfaces, a specialized degreaser is mandatory. We recommend a solution of Trisodium Phosphate (TSP) or a high quality synthetic TSP substitute. These alkaline cleaners cut through heavy residues that standard detergents miss. For general cleaning in other rooms, a mixture of lukewarm water and a mild detergent works well. Use a sponge to wipe the surface in a circular motion, then follow with a clean, damp cloth to ensure no soapy residue remains. This level of care reflects the meticulous preparation standards necessary for a lasting finish. It ensures the chemical bond during paint prep before painting walls is uninterrupted by environmental contaminants, providing the foundation for the repair work that follows.
Repairing Surface Imperfections and Sanding
Cleaning the substrate often reveals the true condition of the walls, highlighting minor defects that a fresh coat of paint will only emphasize rather than hide. For small imperfections like nail holes and pinpricks, a high quality spackle is the professional standard. However, for significant dents, gouges, or recurring stress cracks, DNA Pro Painting, LLC utilizes professional grade joint compound. Joint compound offers superior durability for larger repairs and is essential for achieving the clean finishes and quality workmanship our clients expect. We apply these materials with a flexible putty knife, pulling the blade flat across the defect and feathering the edges to minimize the buildup of excess material.
Once the repairs have fully cured, the sanding process begins. This step is not merely about smoothing out repairs; it is about creating a mechanical bond through a technique known as scuff sanding. For walls with existing glossy or semi gloss finishes, use a 150 to 220-grit sandpaper to lightly abrade the surface. This creates a microscopic profile that allows the new coating to grip the wall. Without this profile, the new paint may slide or fail to bond, undermining the structural integrity of your paint prep before painting walls.
In many Georgia properties, particularly those built before 1978, checking for lead based paint is a critical safety step before any sanding occurs. Disturbing lead paint creates hazardous dust that can linger in a home long after the project is finished. We maintain meticulous preparation standards by testing older trim and walls to ensure that our smoothing process is safe for both the painters and the residents.
When to Prime Walls Before Painting: A Definitive Guide
Once the repairs are smooth and the dust is removed, the final phase of paint prep before painting walls involves establishing a chemical bond through priming. Homeowners often mistake primer for a cheaper, thinner version of paint, but they serve entirely different functions. While paint provides color and durability, primer is a specialized resin designed to seal the substrate, neutralize pH levels, and create a uniform surface for the topcoat to grip.
Skipping this step is one of the most common reasons for poor coverage and uneven sheen. To achieve the clean finishes and quality workmanship expected from professional residential painting services, priming is mandatory in the following scenarios:
Color Transformations: When shifting from a dark or vibrant shade to a lighter color, primer prevents the old pigment from bleeding through.
New Substrates: Fresh drywall and patches of joint compound are incredibly thirsty; primer seals these porous areas so they do not soak up the expensive topcoat.
Surface Transitions: If you are applying water based latex over old oil based paint, a specialized bonding primer is the only way to ensure the new layer does not peel off in sheets.
Glossy Surfaces: Even after scuff sanding, a high quality primer provides the necessary bite on slick surfaces like trim or cabinetry.
Adhering to these meticulous preparation standards ensures that the final color is rich, even, and structurally sound.
The Georgia Factor: Humidity and Prep Considerations
The humid climate in Georgia introduces unique challenges to paint prep before painting walls that contractors in drier regions rarely face. High ambient moisture significantly extends the evaporation window for water based materials. When applying spackle or primer, the drying times listed on product labels often assume a controlled 50% humidity level. In the Southeast, these wait times can double. Applying a topcoat over spackle that is still retaining moisture in its core will lead to bubbling or flashing once the project is complete.
To maintain our meticulous preparation standards, we advise homeowners to run their HVAC systems for at least 24 hours before and throughout the duration of the project. A consistent temperature between 70 and 75 degrees Fahrenheit helps pull moisture from the air, creating the ideal environment for products to transition from wet to cured. Proper dehumidification ensures that the paint hardens into a durable shell rather than remaining tacky for days. This attention to environmental detail is a hallmark of professional residential painting services and is essential for achieving clean finishes and quality workmanship.
5 Common Prep Mistakes That Lead to Peeling Paint
Avoiding these five critical errors is the difference between a finish that lasts a decade and one that fails within a year. Our professional residential painting services prioritize identifying these pitfalls before a brush ever touches the wall, as even high quality pigments cannot compensate for technical failures in the substrate.
Applying paint over dust or chalking surfaces. Even a light layer of debris prevents the chemical bond required for longevity. In older homes, paint can chalk, which is the process of the old finish breaking down into a fine powder. If this is not neutralized during the paint prep before painting walls, the new layer will adhere to the powder rather than the wall, causing it to flake off in sheets.
Ignoring drying intervals after cleaning. While washing walls is vital, rushing to apply paint while the surface is still microscopically damp is a common mistake. This trapped moisture eventually seeks an exit, pushing the paint film away from the wall and creating unsightly bubbles.
Painting over damp surfaces in high humidity areas. In bathrooms or laundry rooms, steam often saturates the wall board. Applying paint to these surfaces before they are fully dehydrated leads to immediate adhesion failure. This is particularly problematic in Georgia where the ambient moisture levels are already high.
Selecting the wrong primer for the substrate. Using a standard latex primer on a surface that requires an oil based sealer or a high bond masonry primer results in peeling. DNA Pro Painting, LLC follows meticulous preparation standards by matching the chemical properties of the primer to the specific wall material.
Leaving wallpaper paste residue behind. If you have recently stripped wallpaper, any remaining adhesive will react with the water in new latex paint. This causes the finish to crack and pucker in a pattern known as alligatoring, which compromises the clean finishes and quality workmanship of the project.
Taking the time to properly prepare your walls is the single most important step for achieving a professional finish. From sanding away imperfections to ensuring every surface is clean, these small details create a massive difference in the final look of your home. If you find yourself overwhelmed by the process or simply want expert help to ensure a flawless result, you can learn more about our team and our dedicated approach to quality. We are here to make your next painting project effortless and beautiful.